Scan & Pay demo app
Using the shopreme Scan & Pay Demo app
We offer the shopreme app for testing and having an overview of what the ShopremeCore SDK is capable of. This app is free to use and publicly available on the Apple App Store, for iOS devices.
You can download the app here: https://apps.apple.com/at/app/shopreme-scan-pay/id1149321968

shopreme Scan & Pay in the App Store
Depending on the situation, we also have an internal app for Android, which can be shared upon request.
First-time use setup (iOS app)
When you open the app for the first time, you will see the Welcome screen, where you need to enter your email address to receive an activation code.

iOS: Welcome screen
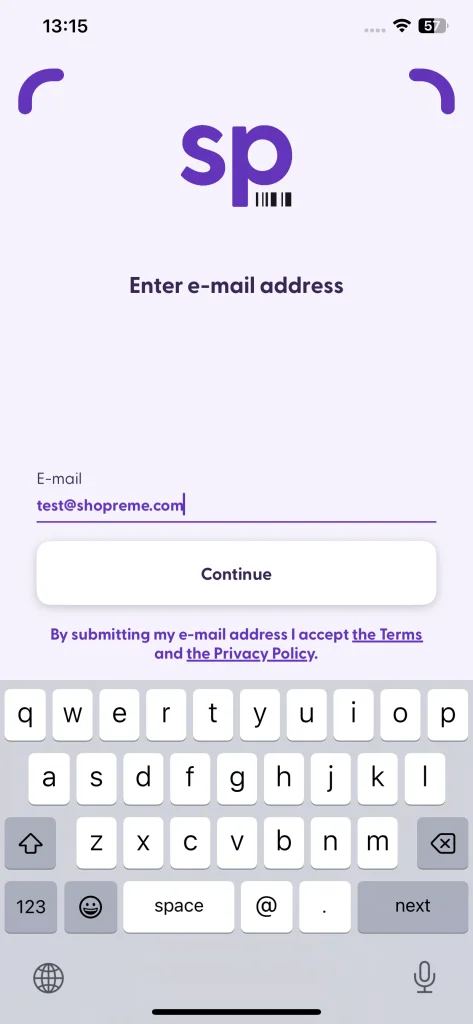
iOS: Register the app
Check your email and enter the code on the next screen. After that, the app will ask for a Partner ID. If you have been in contact with the shopreme Sales team for a specific demo, enter your Partner ID code here.
For general testing, you can tap "Skip" under the "Continue" button.
The next screen will show the list of test stores you can use.
On the Shops page, do not use any listed option unless you have been in contact with our sales team. Tap the SP logo only.
Setting up the app (iOS and Android)
Tap the "SP" logo, and accept the camera permissions. You will need to scan a check-in code to "enter" a store and be able to start your testing journey.
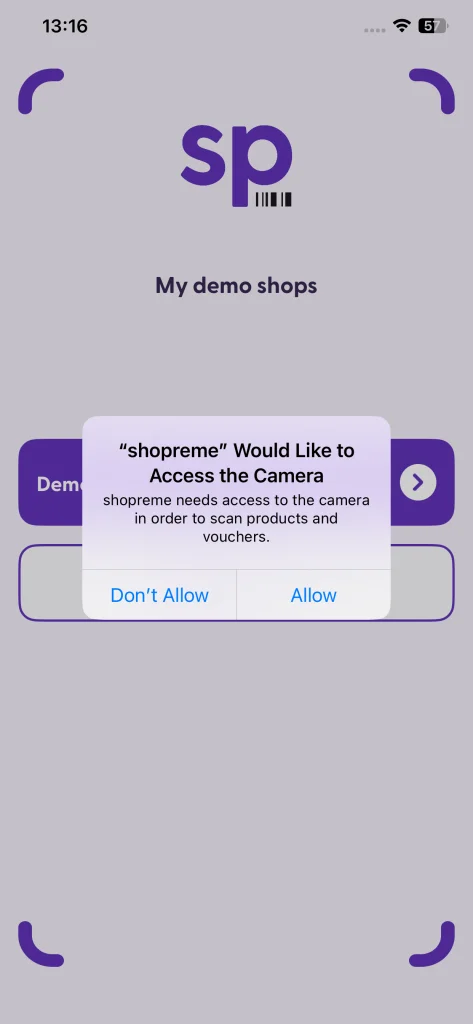
iOS app: Tap on logo
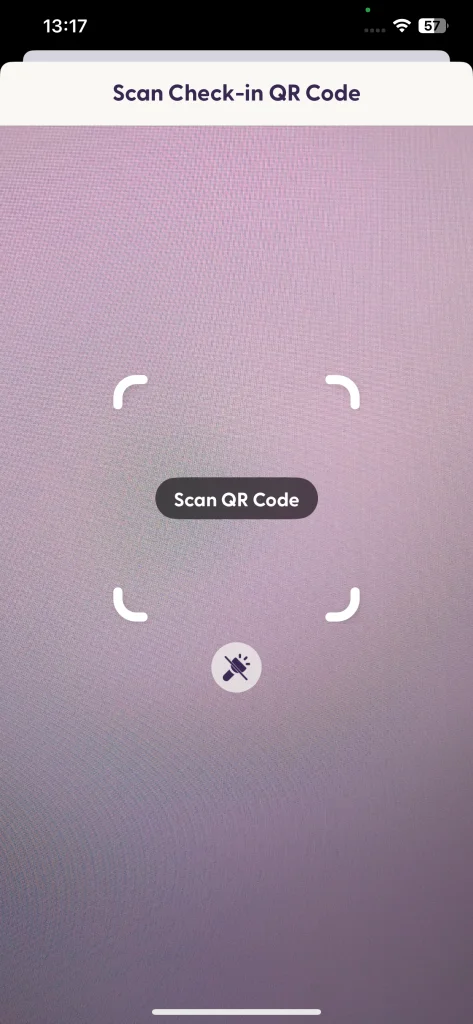
iOS app: Scan the check-ín code
The Welcome screen on Android looks very similar to the iOS one, except that it does not include the onboarding for Demo accounts.
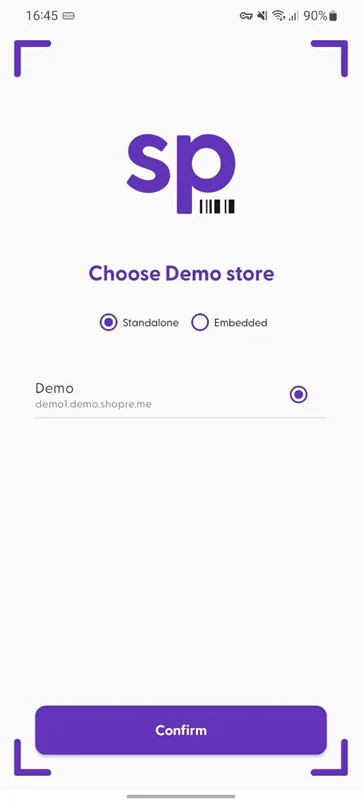
Android app: Welcome screen
Find the check-in code
The check-in code will register you to a server and a specific store ID, as if you were a real shopper in a retail store.
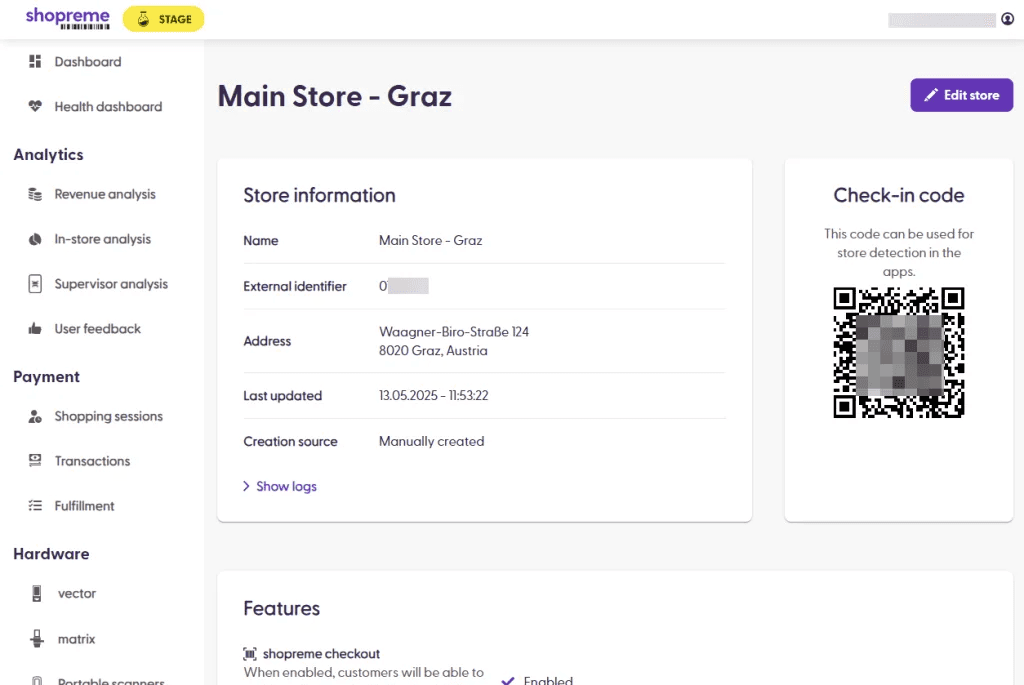
You can find this code in your shopreme Management Console, which has the pattern: https://[yourServerName].stage0.shopre.me/static/static
Log in with your Management Console credentials. If you do not have credentials, please contact your shopreme Integration Consultant.
Once you logged in to the Management Console, click "Stores" on the left-side navigation menu.
Select the store you want to check into, and click to open the Store Details page. On the right side of the page, you will find your check-in code. Scan it using your shopreme Scan & Pay scanner:
If the check-in code is successful, a new entry will be added to the Scan & Pay app's list of stores. Tap this button to start shopping in your test store.
For Android, make sure that you choose Standalone before confirming the store. The embedded mode is a sample of the ShopremeCore SDK without using the "Home screen" or "Profile" features.
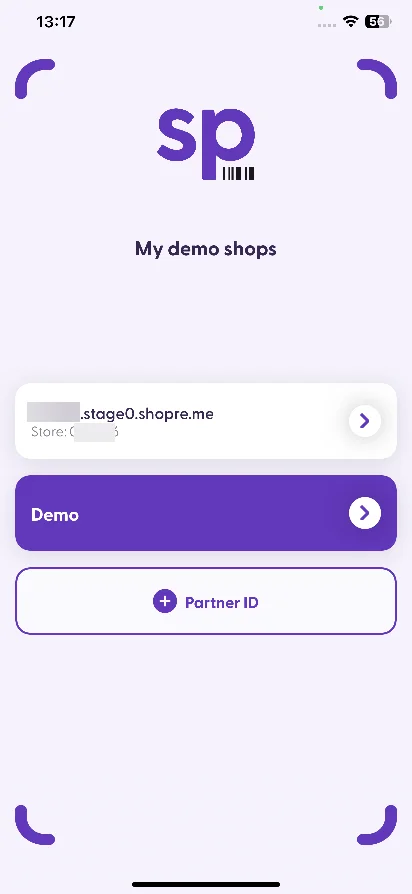
iOS: Choose store to start
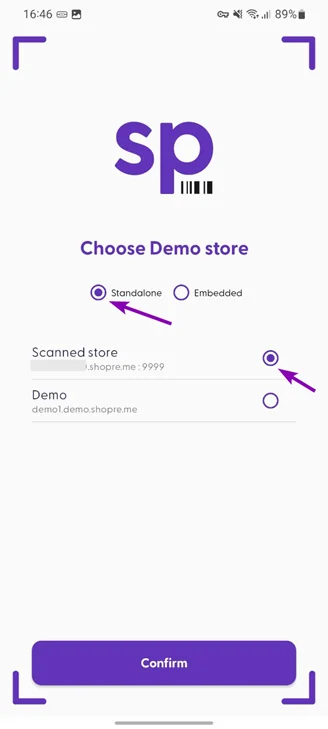
Android: Choose store to start
Get started with your tests
After choosing the correct Store from the list, you will be able to start your Scan & Pay journey by tapping the Scan button and then start scanning your test barcodes. Please note that only barcodes with valid prices can be added to the Scan & Pay cart.
Learn more about how Scan & Pay works in our Knowledge Base. If you have any other questions that are not covered in our articles, please contact shopreme support or your integration consultant.
A simple user journey
Note: The screenshots are only illustrative and may differ from the current version of the shopreme Scan & Pay app. Styling and images may vary, but the structure and user flow is the same.
On the main (home) screen of your store, you can see the core features of the shopreme SDK: the Profile on the top banner, the shopping list, and the Scan button.

Home screen
Tapping on the scan button will open the scanner view, where you can scan barcodes to add them to your cart. If available for your store, you can also use the category browsing option (the magnifying glass button) to find products that do not have barcodes. Products can be searched by name.

Scanner

Product search by categories

Manual input for barcodes
When tapping the button "Cart", you can review the list of products and prepare to start the payment and checkout process. In the payment menu, you can see the available payment methods for your server/store.

Cart

Payment method: Credit card

Payment method: Pay at the terminal
For the cash register case, a QR code containing the encoded Transaction ID will be displayed. This can help you in testing any cash register behavior.

Pay at the terminal or cash register
Once the payment is completed, the app will show the flow for the purchase completion. Depending on your server configuration, the exit code will be displayed. At the end of the shopping journey, the receipt will be generated as well (except when the payment is on a third-party system).
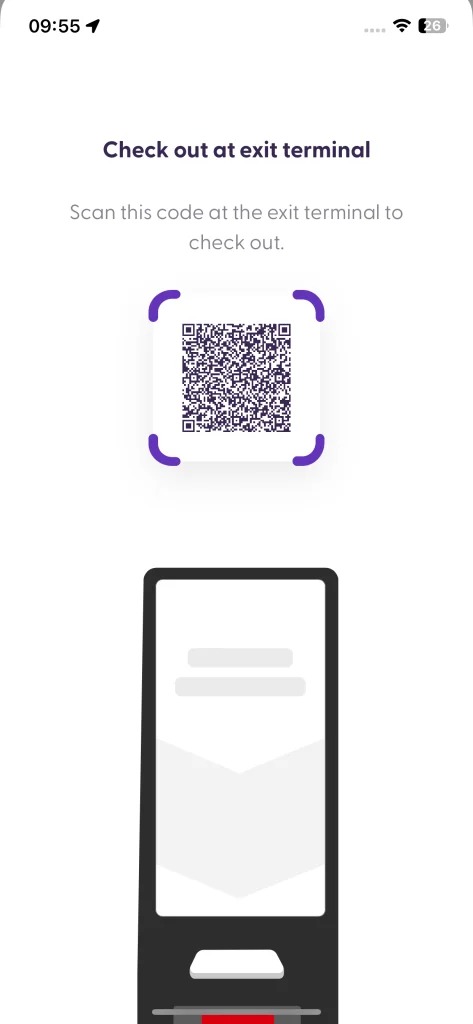
Exit code to leave the store
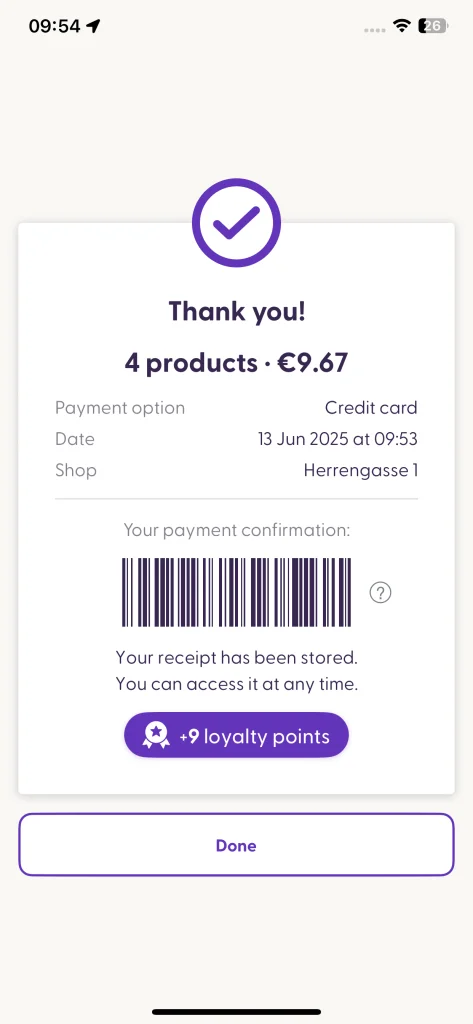
"Thank you" screen
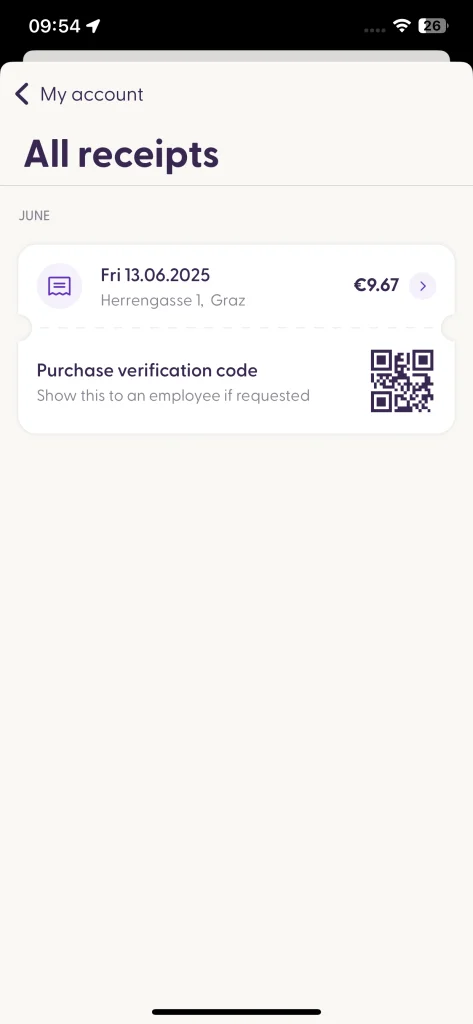
Receipts in the Profile section
For more details on how shopreme works, check out the Knowledge Base articles in our Developer Portal.