Exit solution: vector
Payment terminal setup
This section is only compatible with vector devices with a PoS Payment Terminal attached to them.
After finishing the Software Setup process, your vector is ready to configure the payment terminal, if necessary.
Before you start: Make sure your PoS Payment Terminal is connected to the cable coming out of the right side of the vector. It will turn on automatically and show that it is connected to the internet (This is shown by a small cloud icon on the top right corner of the PoS screen).
Then, on a separate device, please navigate to your shopreme Management Console, and then click on “vector” on the left-hand menu, under “Hardware”:
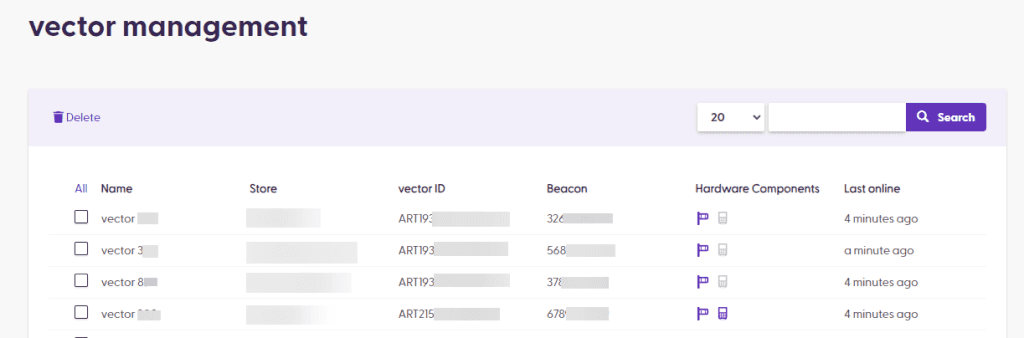
After a vector is registered, it will appear in this section immediately. You can confirm that the Name and Terminal ID match the information visible in the Configuration Settings and that the Store is correct. You can also see that in the Add-ons column, the Payment Terminal icon is gray as it is not configured yet.
Click on the Terminal Name to see more details about this device and modify the Add-ons:
Adding new POS terminal
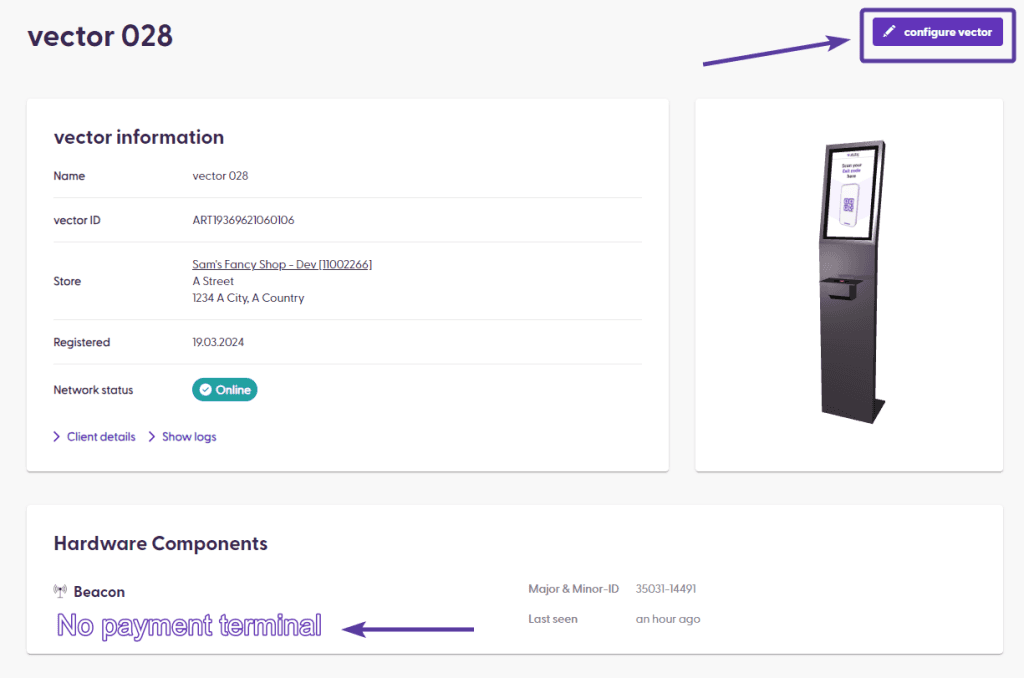
To configure the new PoS Terminal, first check that the Payment Terminal is not listed in the vector management detail page. Then, click on “Configure vector” on the top right corner:
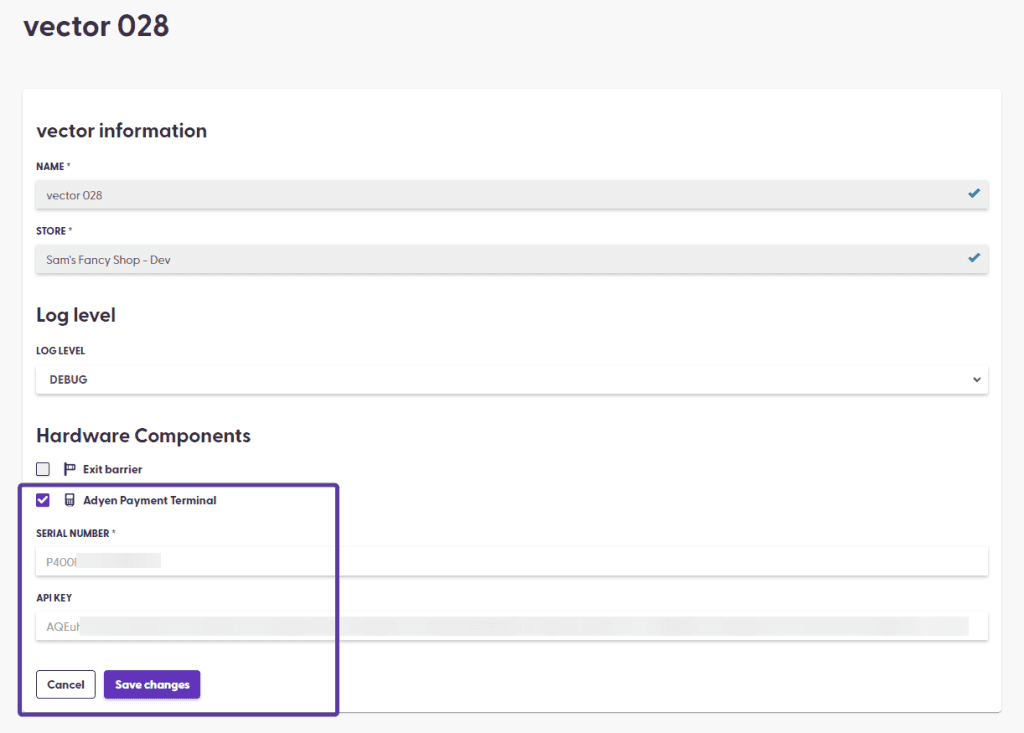
In the Edit Mode, click on the checkbox next to “Payment Terminal”. The name may vary depending on your Payment Service Provider (PSP). In this example, we used Adyen as PSP.
In the field below, enter the serial number or ID of your PoS Terminal.
The second field, the API key, can be set up as a default in your server, if the value is always the same. Otherwise, it needs to be manually entered. This key is provided by your PSP.
Please contact your shopreme Integration Consultant for any details on the PoS Terminal serial number, ID or API Key, and how to obtain this information.
Once the values have been modified, click on “Save changes” to continue:
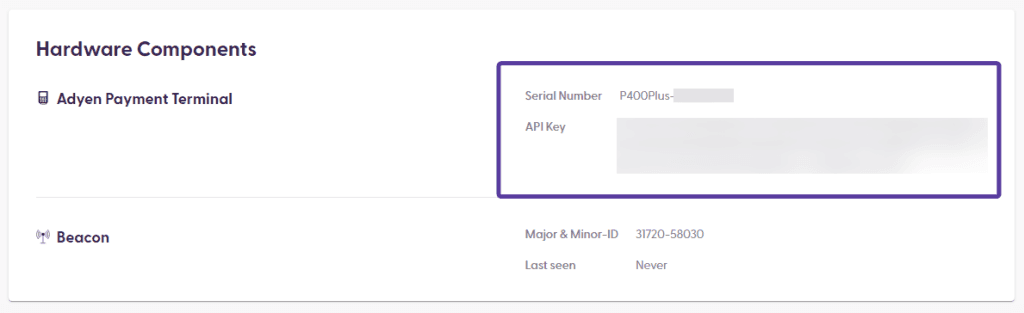
After adding the new payment terminal, the vector page will show that the Terminal is Enabled, along with the Serial Number and API key ending. Verify this information is correct!
Testing POS configuration
After configuring the PoS Terminal in the Management Console, go to your vector to test the setup. If vector is currently showing the Settings page, please tap on “Exit” on the top right corner. Then, rescan the QR-code to reopen the Settings page on the vector screen. This ensures that the vector device will refresh and reload the new configuration you just modified in the Management Console.
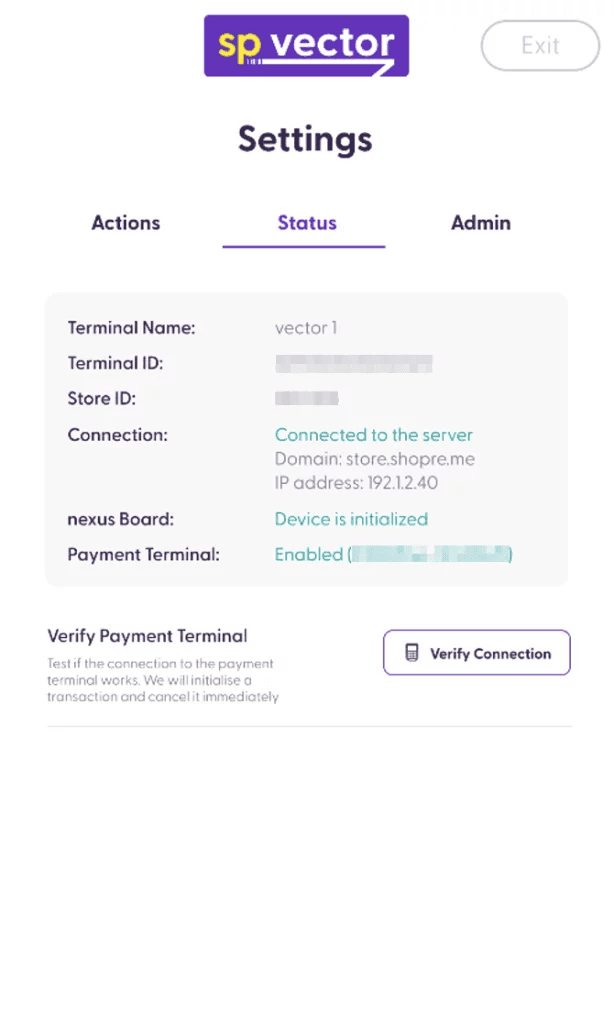
Once you have reloaded the Settings page, check that the Payment Terminal appears as “Enabled” and the correct Serial Number is displayed between parentheses.
Then, tap on “Verify Connection” and wait a moment: The payment terminal will start a transaction for a small amount and will cancel it automatically within 5 seconds. Once that happens, you can confirm that your payment terminal is ready to be used by customers!

shopreme © 2025