Exit solution: vector
Hardware and software setup
As soon as the vector is connected to power and Ethernet, it will automatically turn on and display the start screen. Our application will guide you through the hardware setup, so you only need to follow the instructions on the screen. You will be asked to tap on “Let’s Go” to launch the setup.
First comes the hardware setup. To start, tap on the button “Continue”:

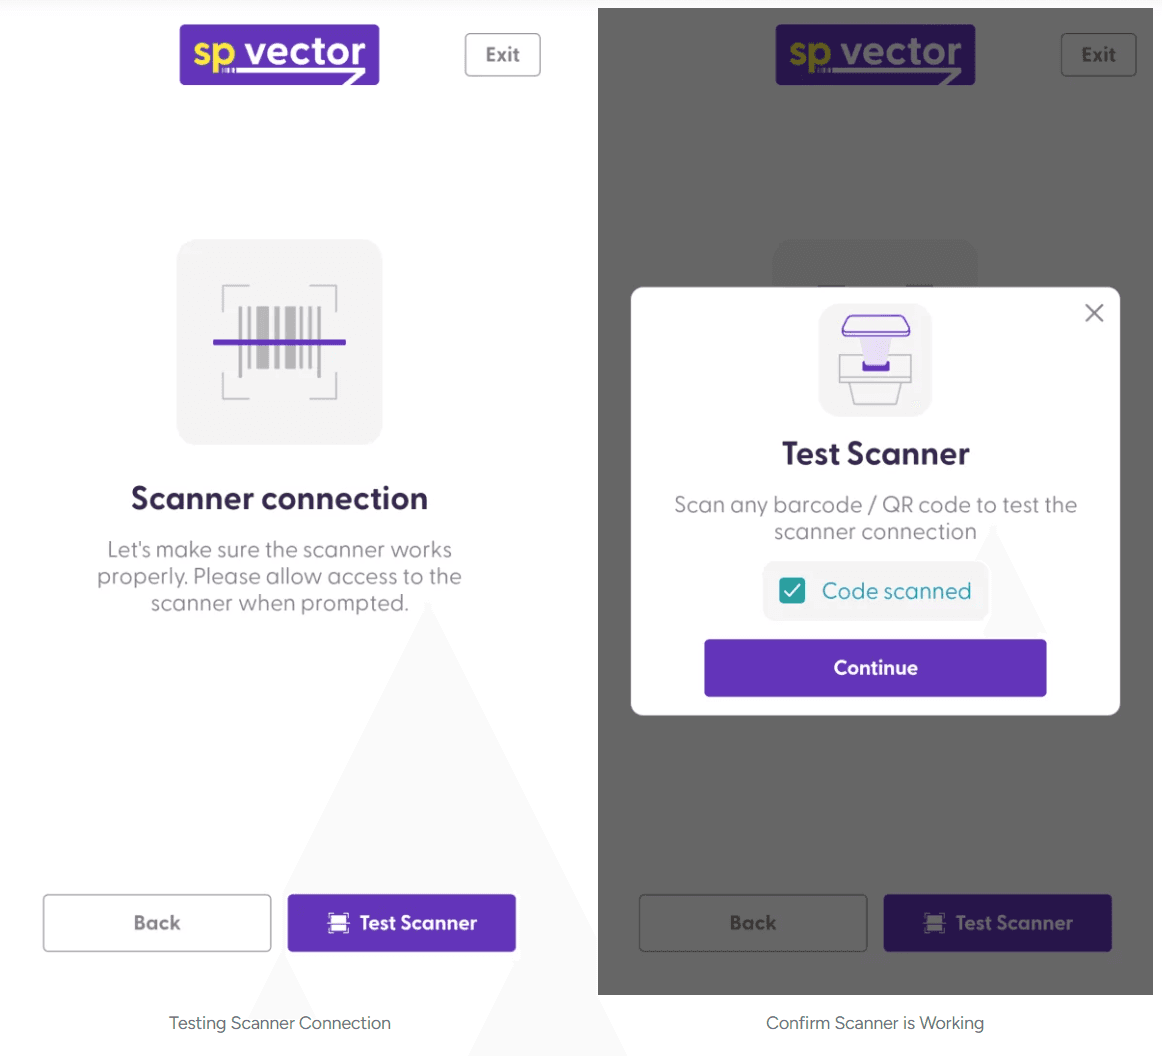
Then, the app will verify that the scanner is working. Click on “Test Scanner” and scan any barcode or QR code. After a successful test, you will see the confirmation that the code was scanned. Click on “Continue”.
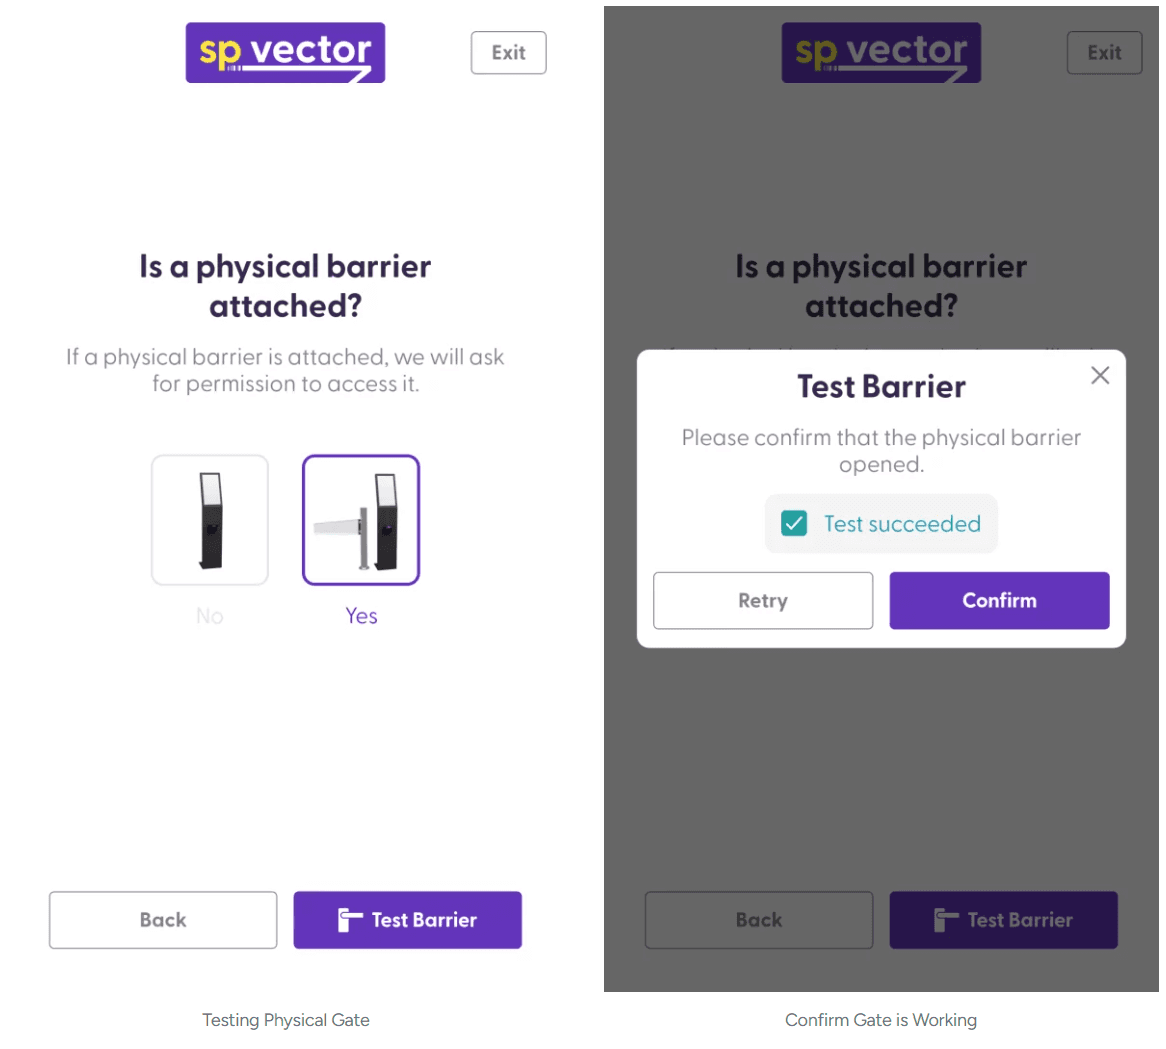
Next, the app will help you test the functionality of your exit gate. If an exit gate is connected to the vector, choose “Yes” and click on “Continue”. Please check if the gate opens and confirm manually. If no gate is connected, please select “No” and click on “Continue”.
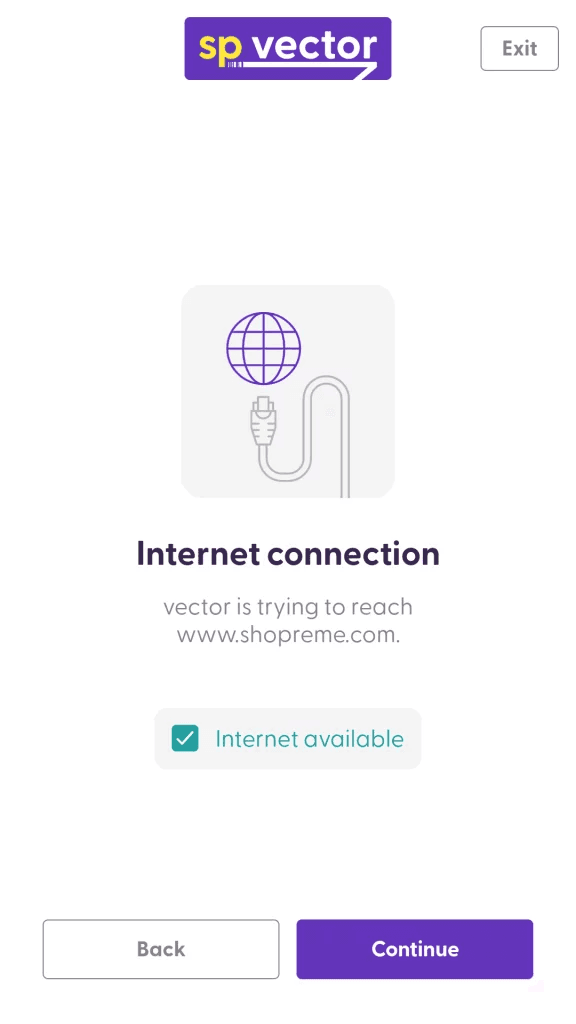
On the last step, let us verify if the internet connection is working. If so, you will see the confirmation that Internet is available.
If you receive an error message, please get in touch with your IT/Network team for further assistance. The software setup, which comes after the hardware setup, requires connection to the Internet to register the vector to your store. However, you can stop the configuration (turn the device off) at this point to continue later, if needed.
After the hardware setup is completed, you can continue with the software setup.
Software setup
Once the hardware has been tested, you will need to complete the software setup.
During this process, our system will register the vector to your store. That is, the vector device will receive a unique ID that is linked to your store location and the shopreme Middleware.
Before you start, make sure you have access to the shopreme Supervisor app. This app provides the QR codes you will need to use during the setup.
To start the software setup, tap on “Continue”. On the “Device registration” screen, you will need to generate the setup code from the Supervisor app and scan it. Please review this article if you need more information about the vector setup code.

If the code is valid, you will see the three checkboxes being marked green:
Registering vector: The device is registered to the shopreme Middleware to manage it and edit some configurations.
Configuring beacon: The Bluetooth beacon signal is registered to vector to detect the store.
Finishing vector setup: Everything is done!
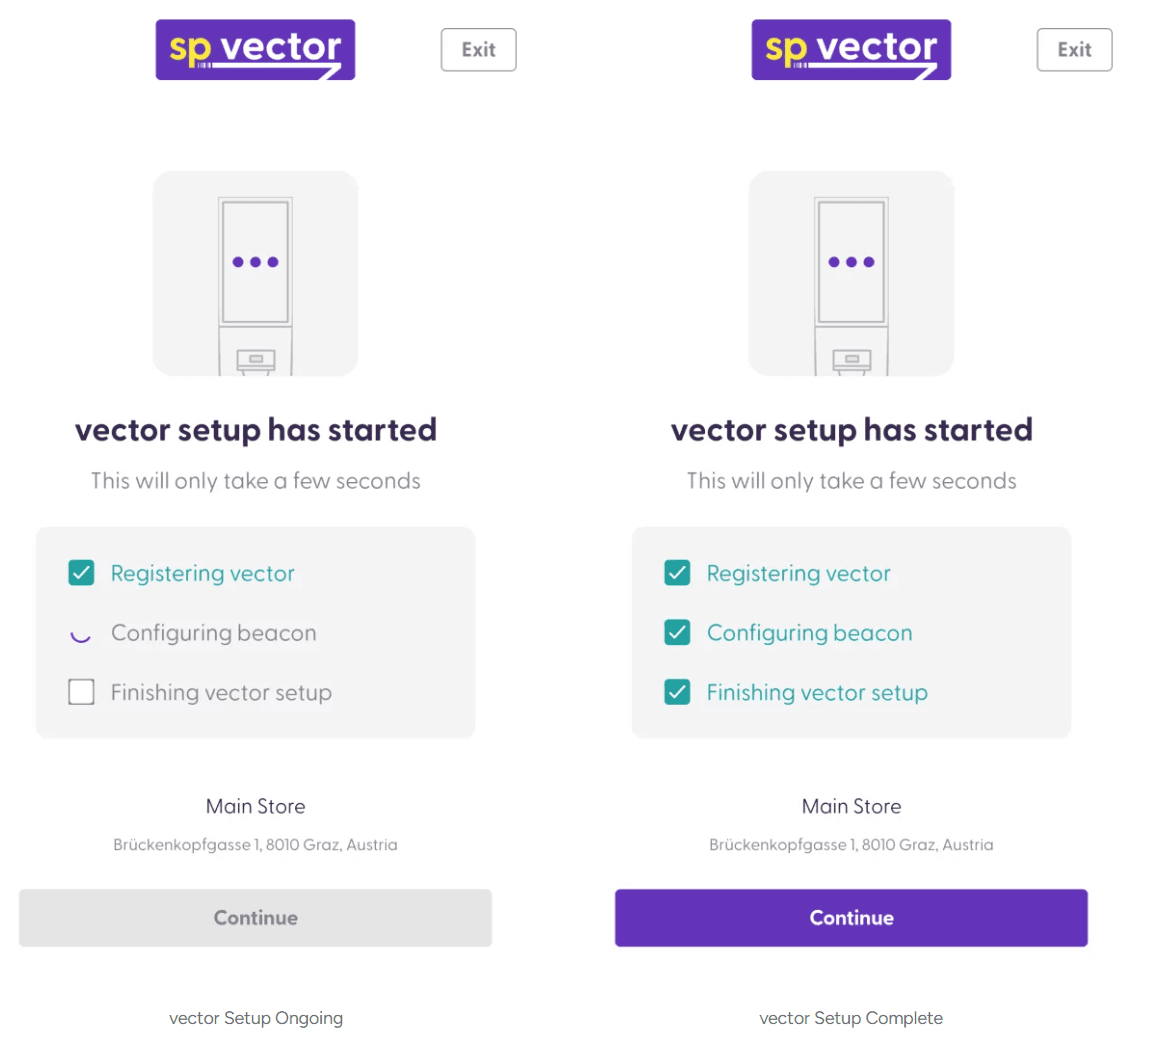
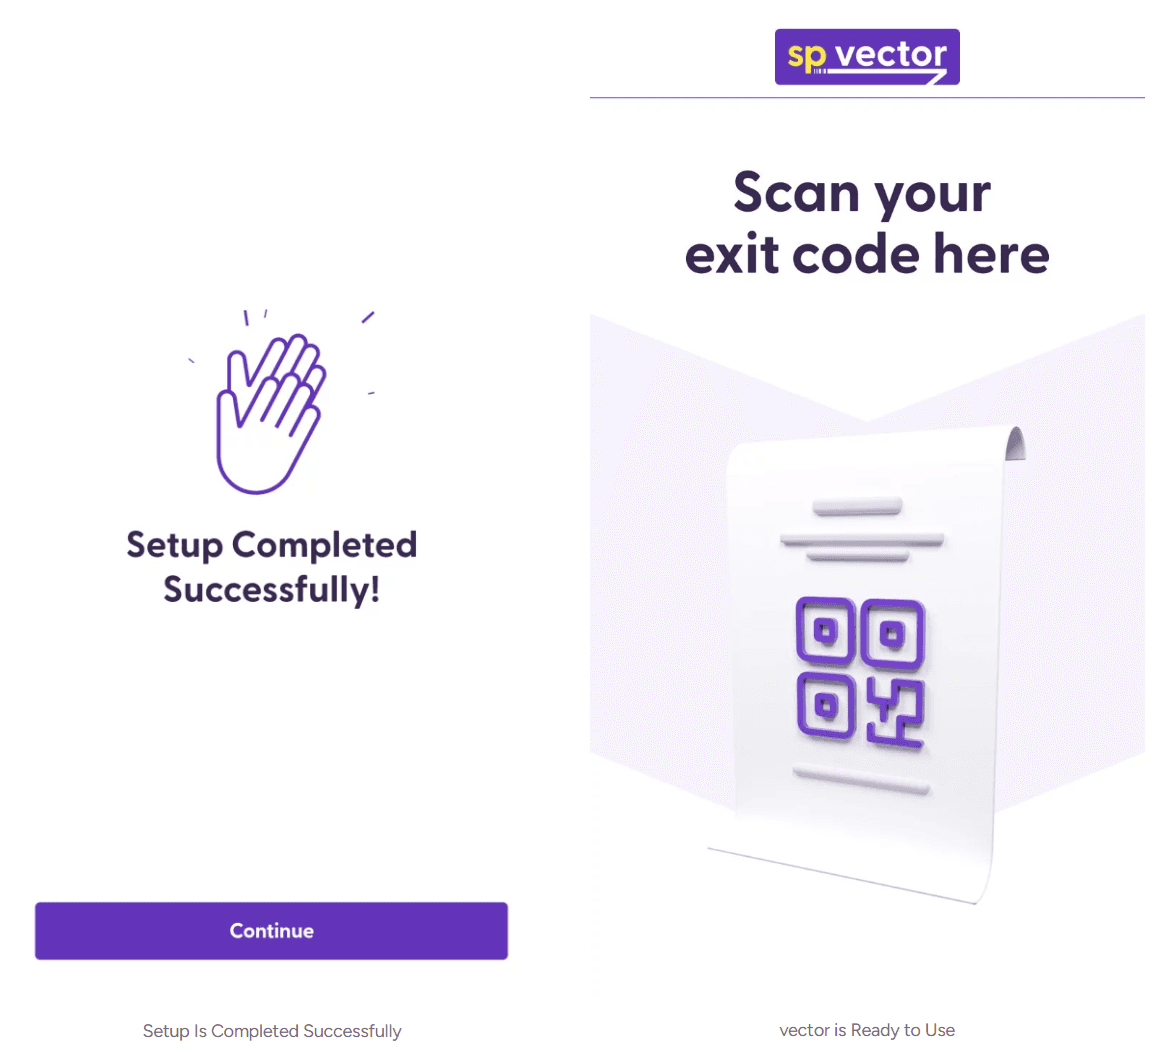
Tap “Continue” to finish and vector will be ready to use.
If you need to set up a PoS terminal, the completion of the software setup is a good moment to do so. Please review the following article to learn more about how to set up a payment terminal.

shopreme © 2025